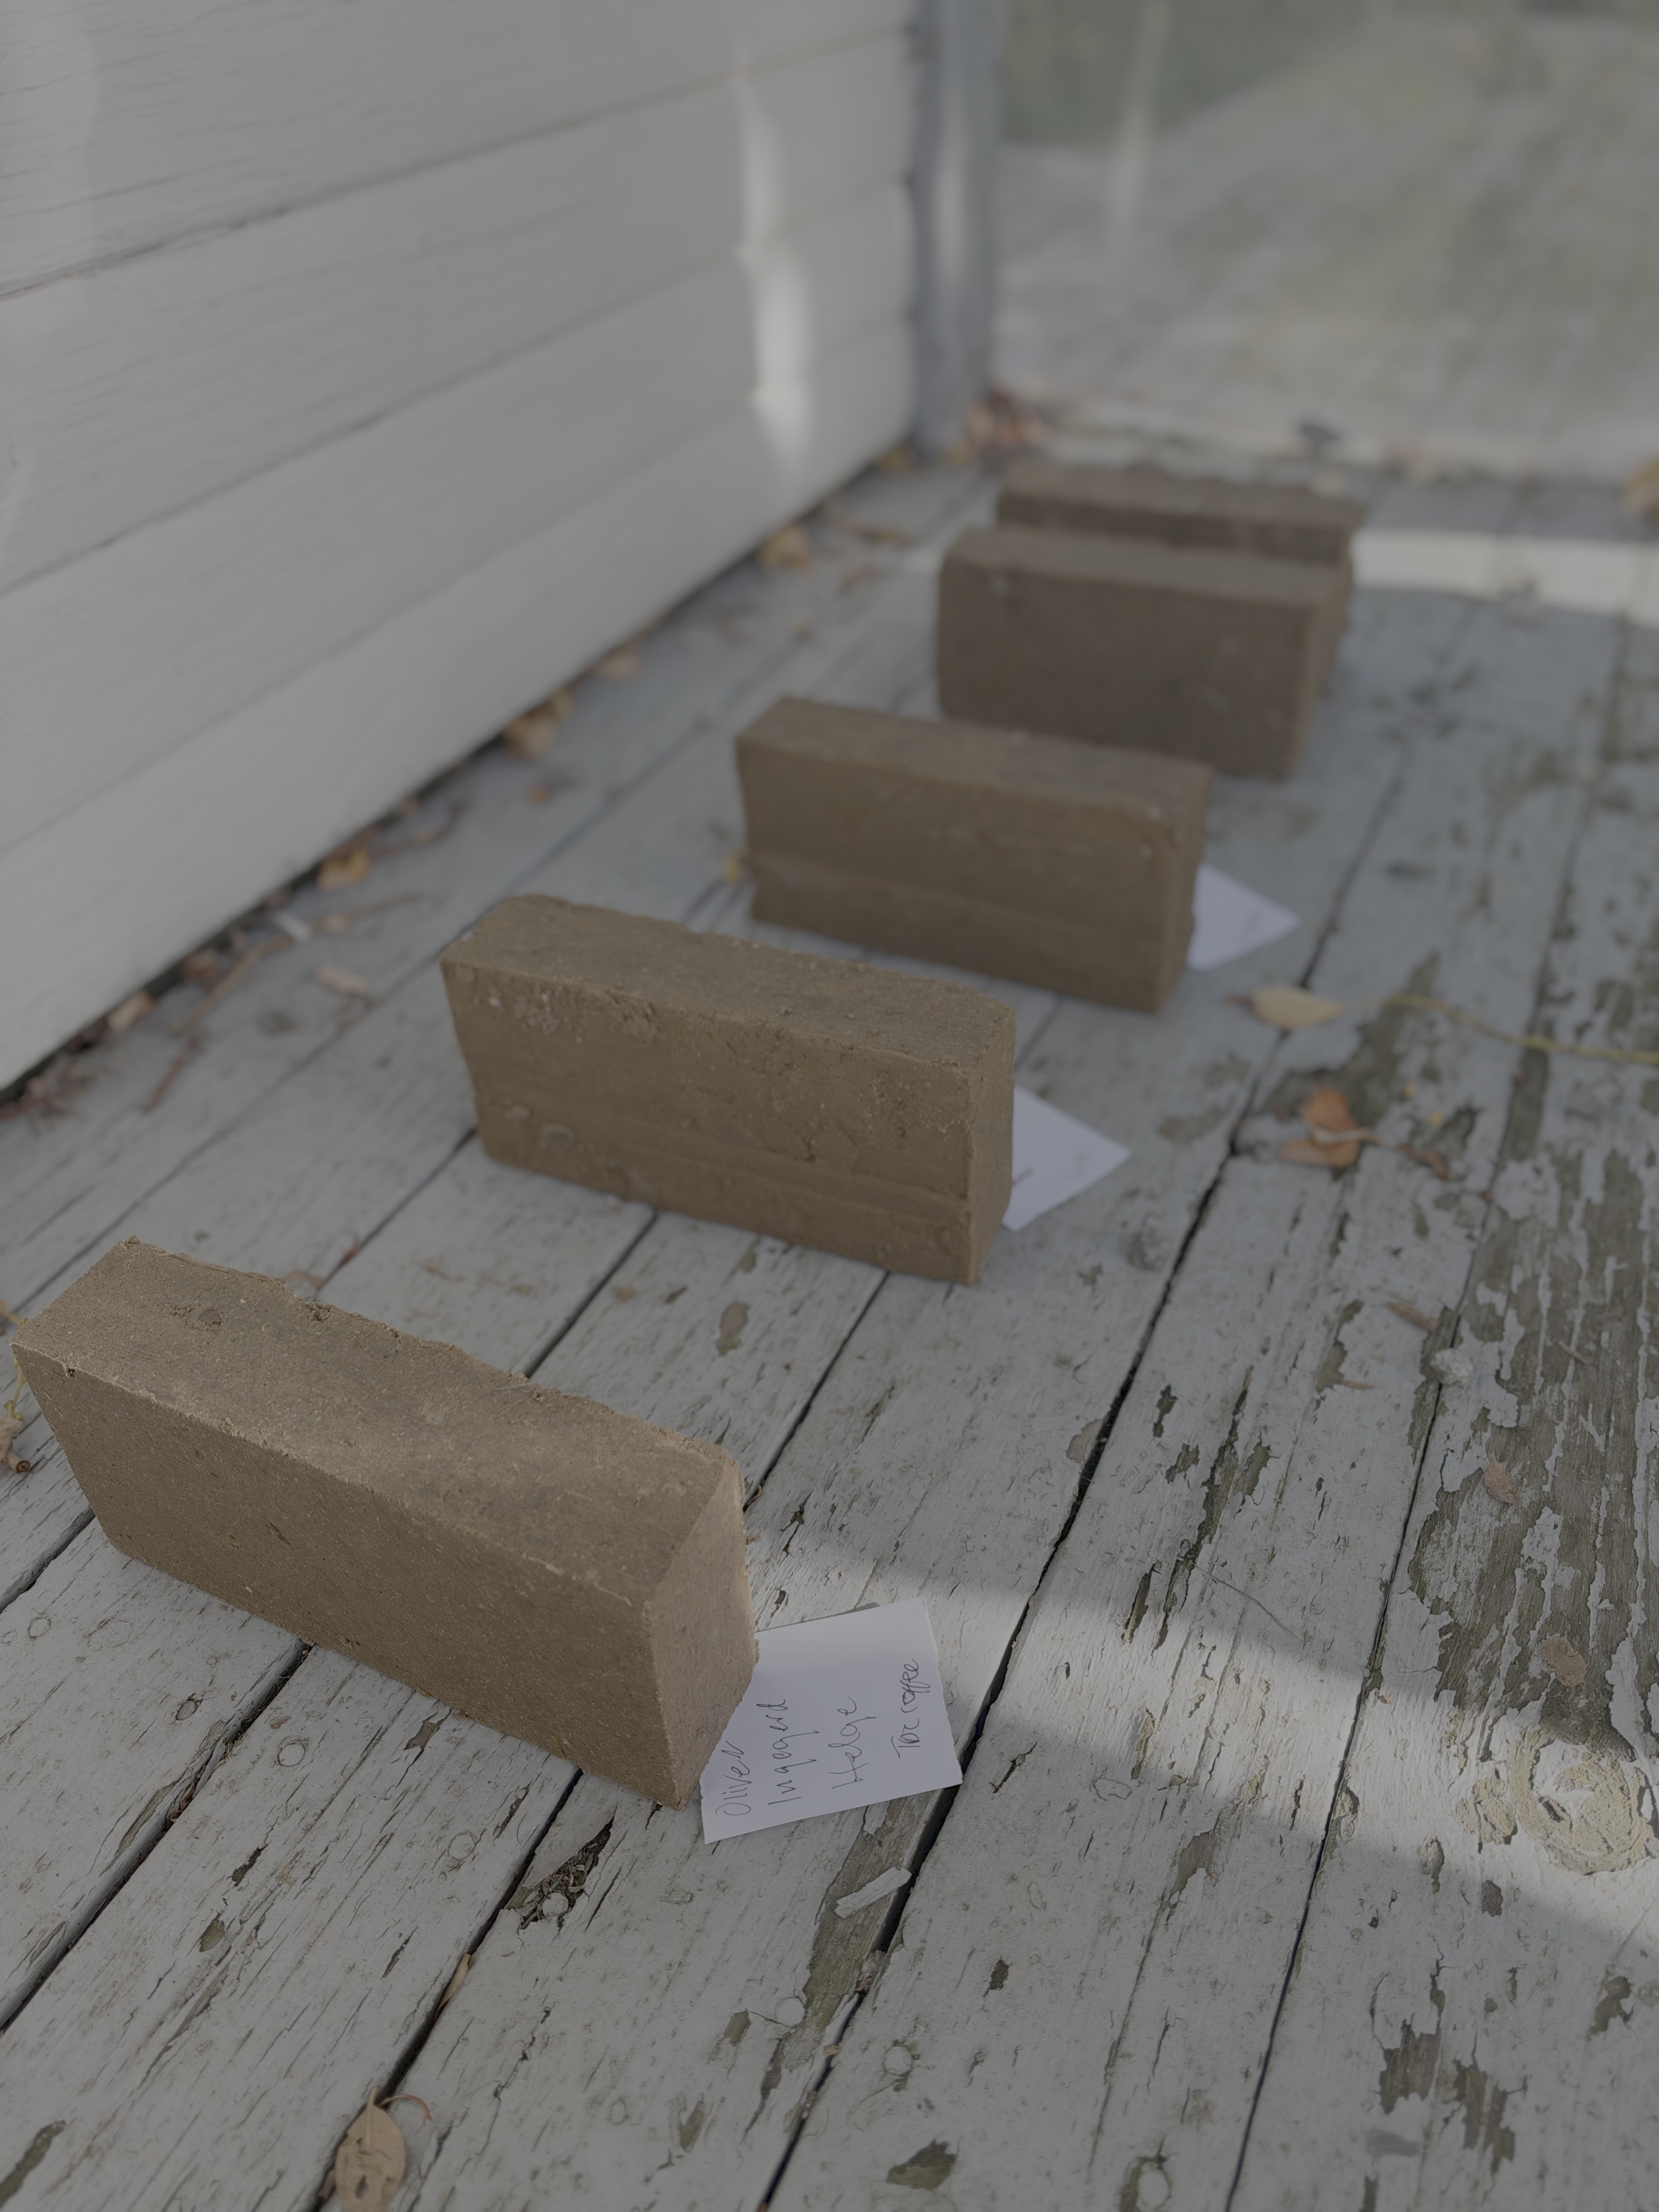
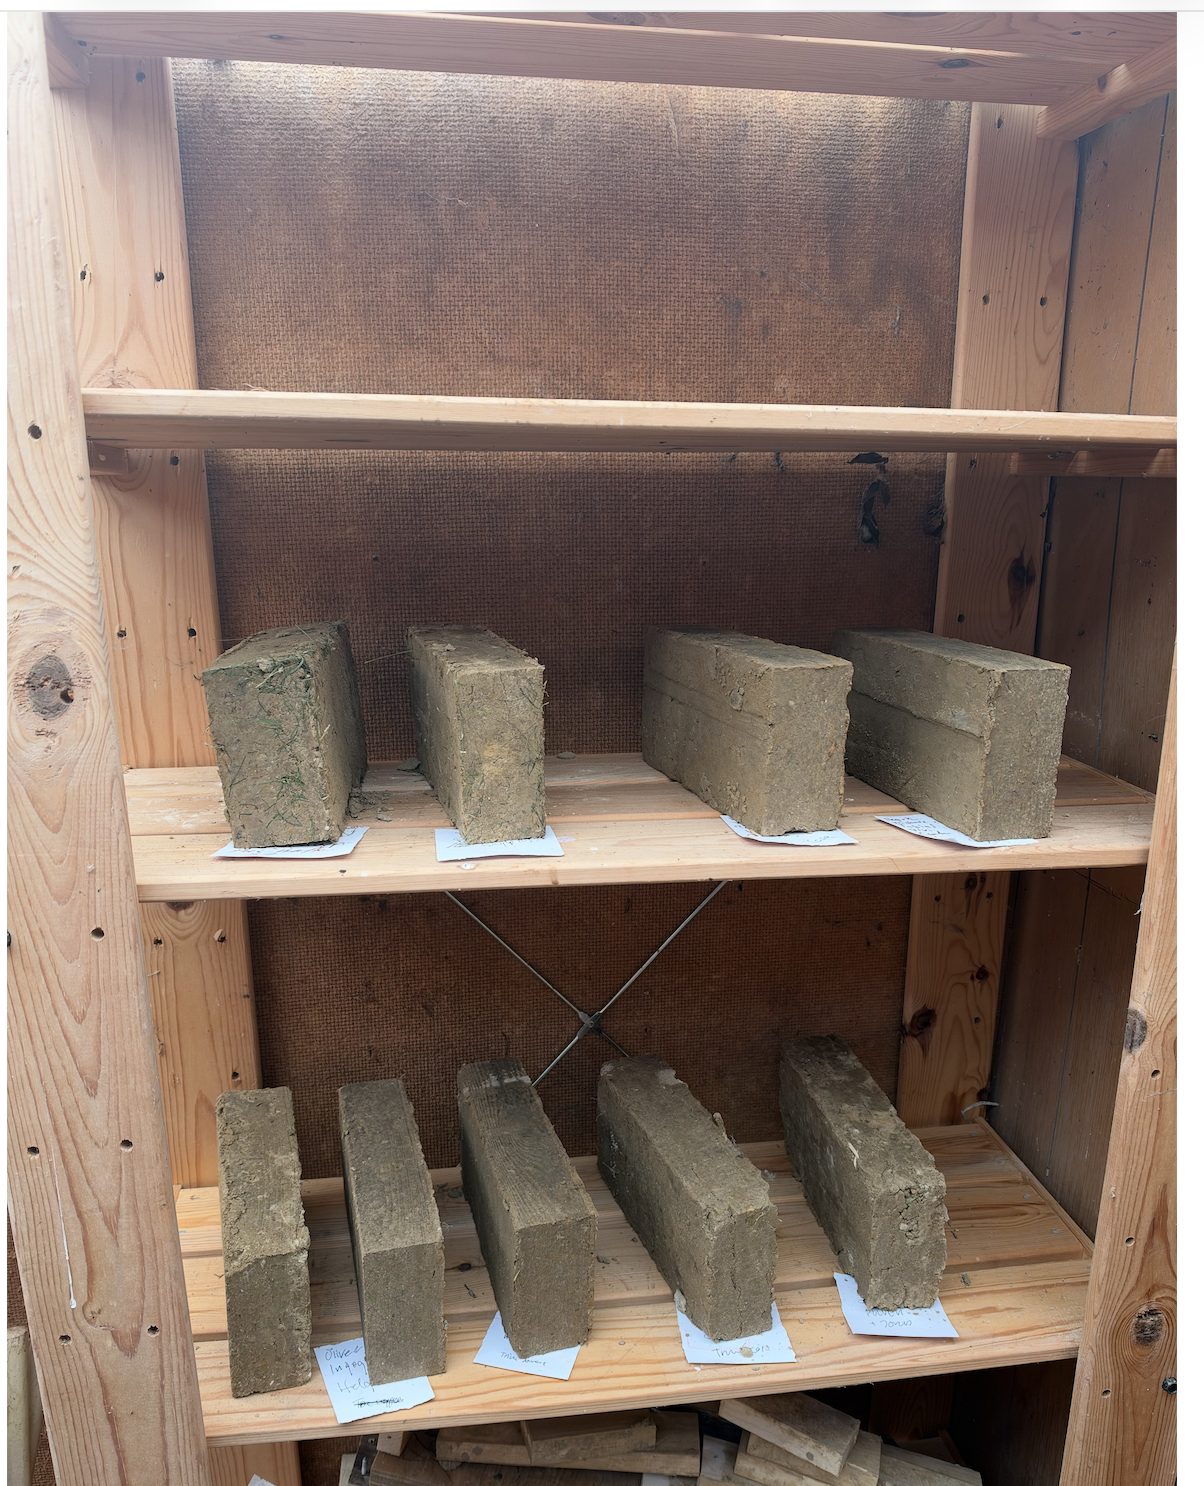
This is a resource for anyone interested in:
‘How to start a bio build project with clay bricks’
If you want to read more about Building Environments Where Connection Thrives visit this substack
The content in this resource comes from a real project delivered in Denmark, October 10th 2026
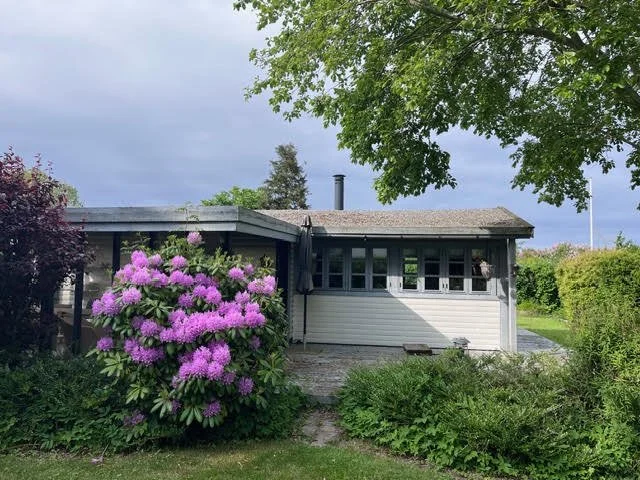
This is a typical Danish summerhouse, built in the 1960’s at a time that materials like led paint and asbestos roofing was the norm.
The goal is to build a ‘normal’ (in size) Danish home with a bio build approach.
In other words trying to: reuse materials, prevent waste, use bio materials and take an approach that considers the needs of the environment as much as the needs of the house owners (thats Jan and Fiona by the way)
Sometimes building a home can be a little theoretical. Lots of designs on paper and meetings about what could happen.
This experiment with clay bricks was an opportunity to get our hands dirty and experiment with nature
Follow the steps below to deliver your own clay day
*The interviews below are in Danish
Step 1 Dig up the clay
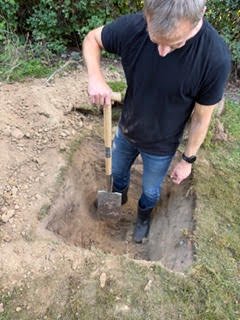
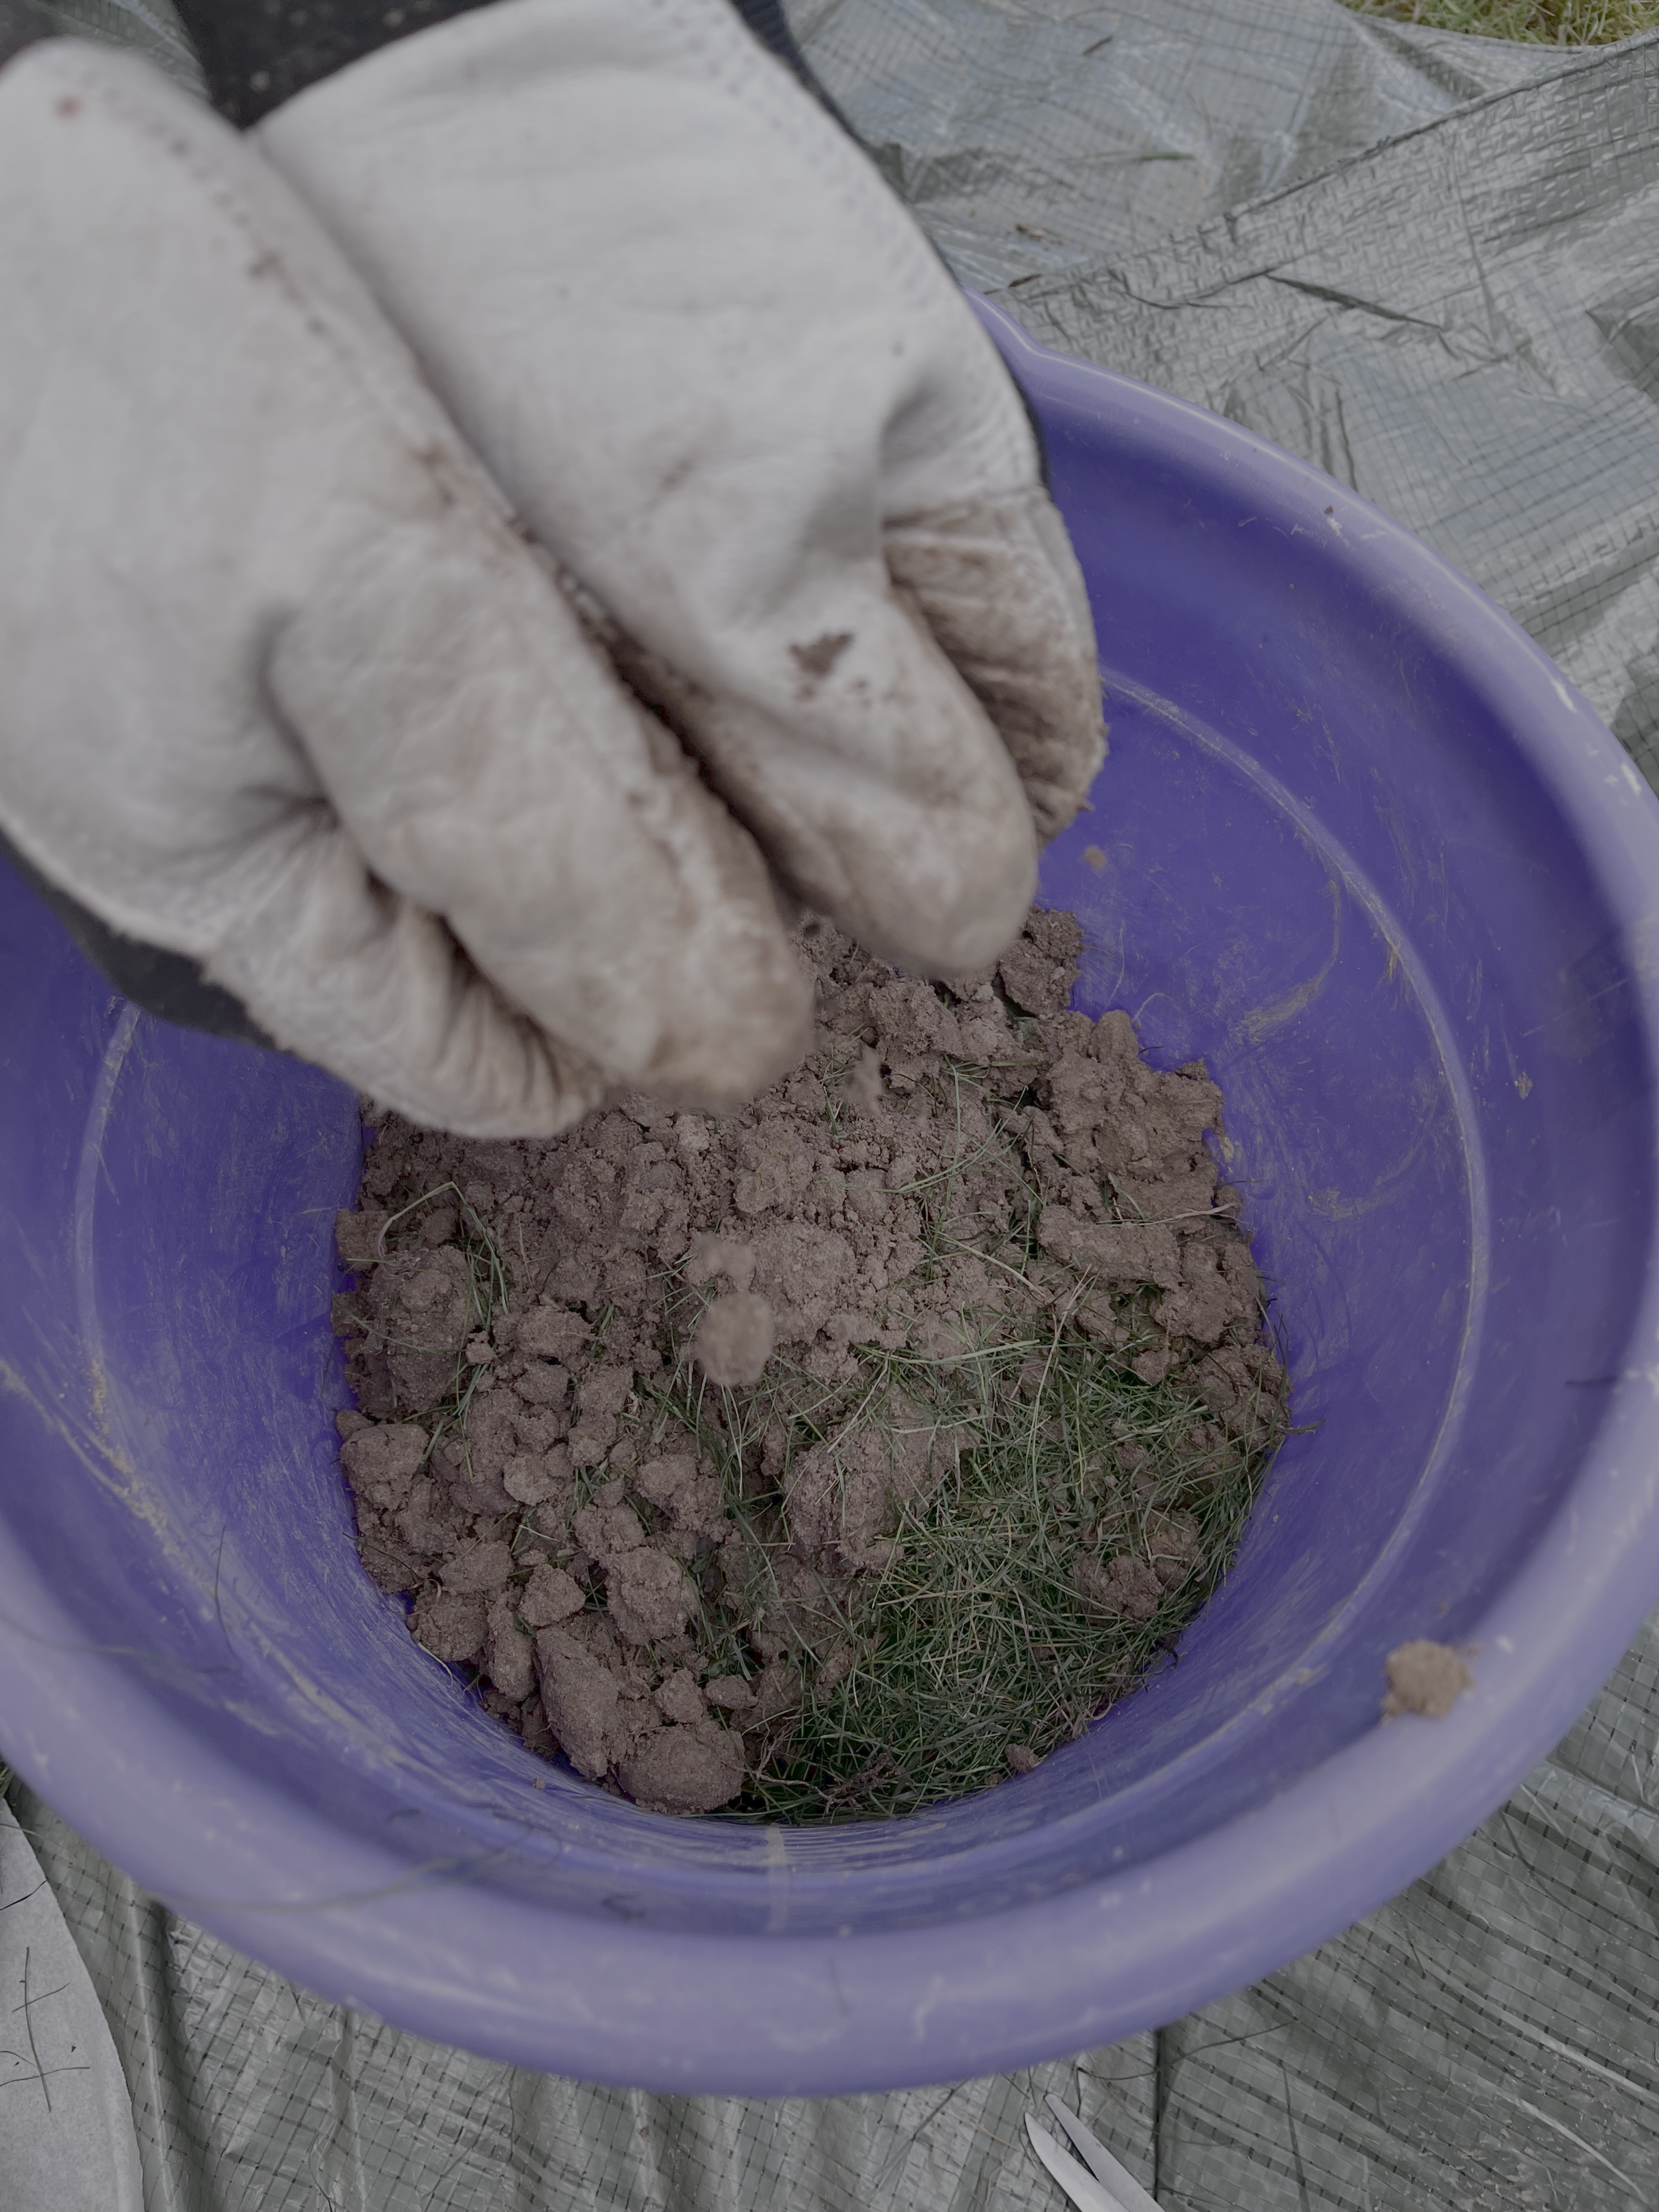
Every garden is different. In our garden, after digging about 30 cm down we reached clay. We continued to dig about 80cm down and a few days before the event we dug up the amount of clay we thought we would need so it could dry.
In reality our soil was so clay heavy that it got too dry and we dug up abit more a few hours before brick building began.
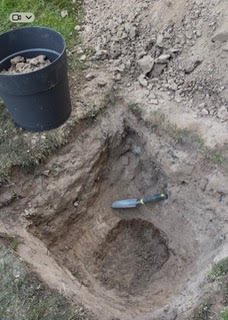
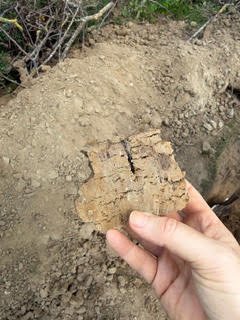
There are a few ways to test that you have clay in your soil.
Danish speakers can hear Trine talk about a test where you create a small tennis ball shape of clay, drop it from waist height on to a hard surface and if it breaks into 3 pieces it is suitable to make a clay brick.
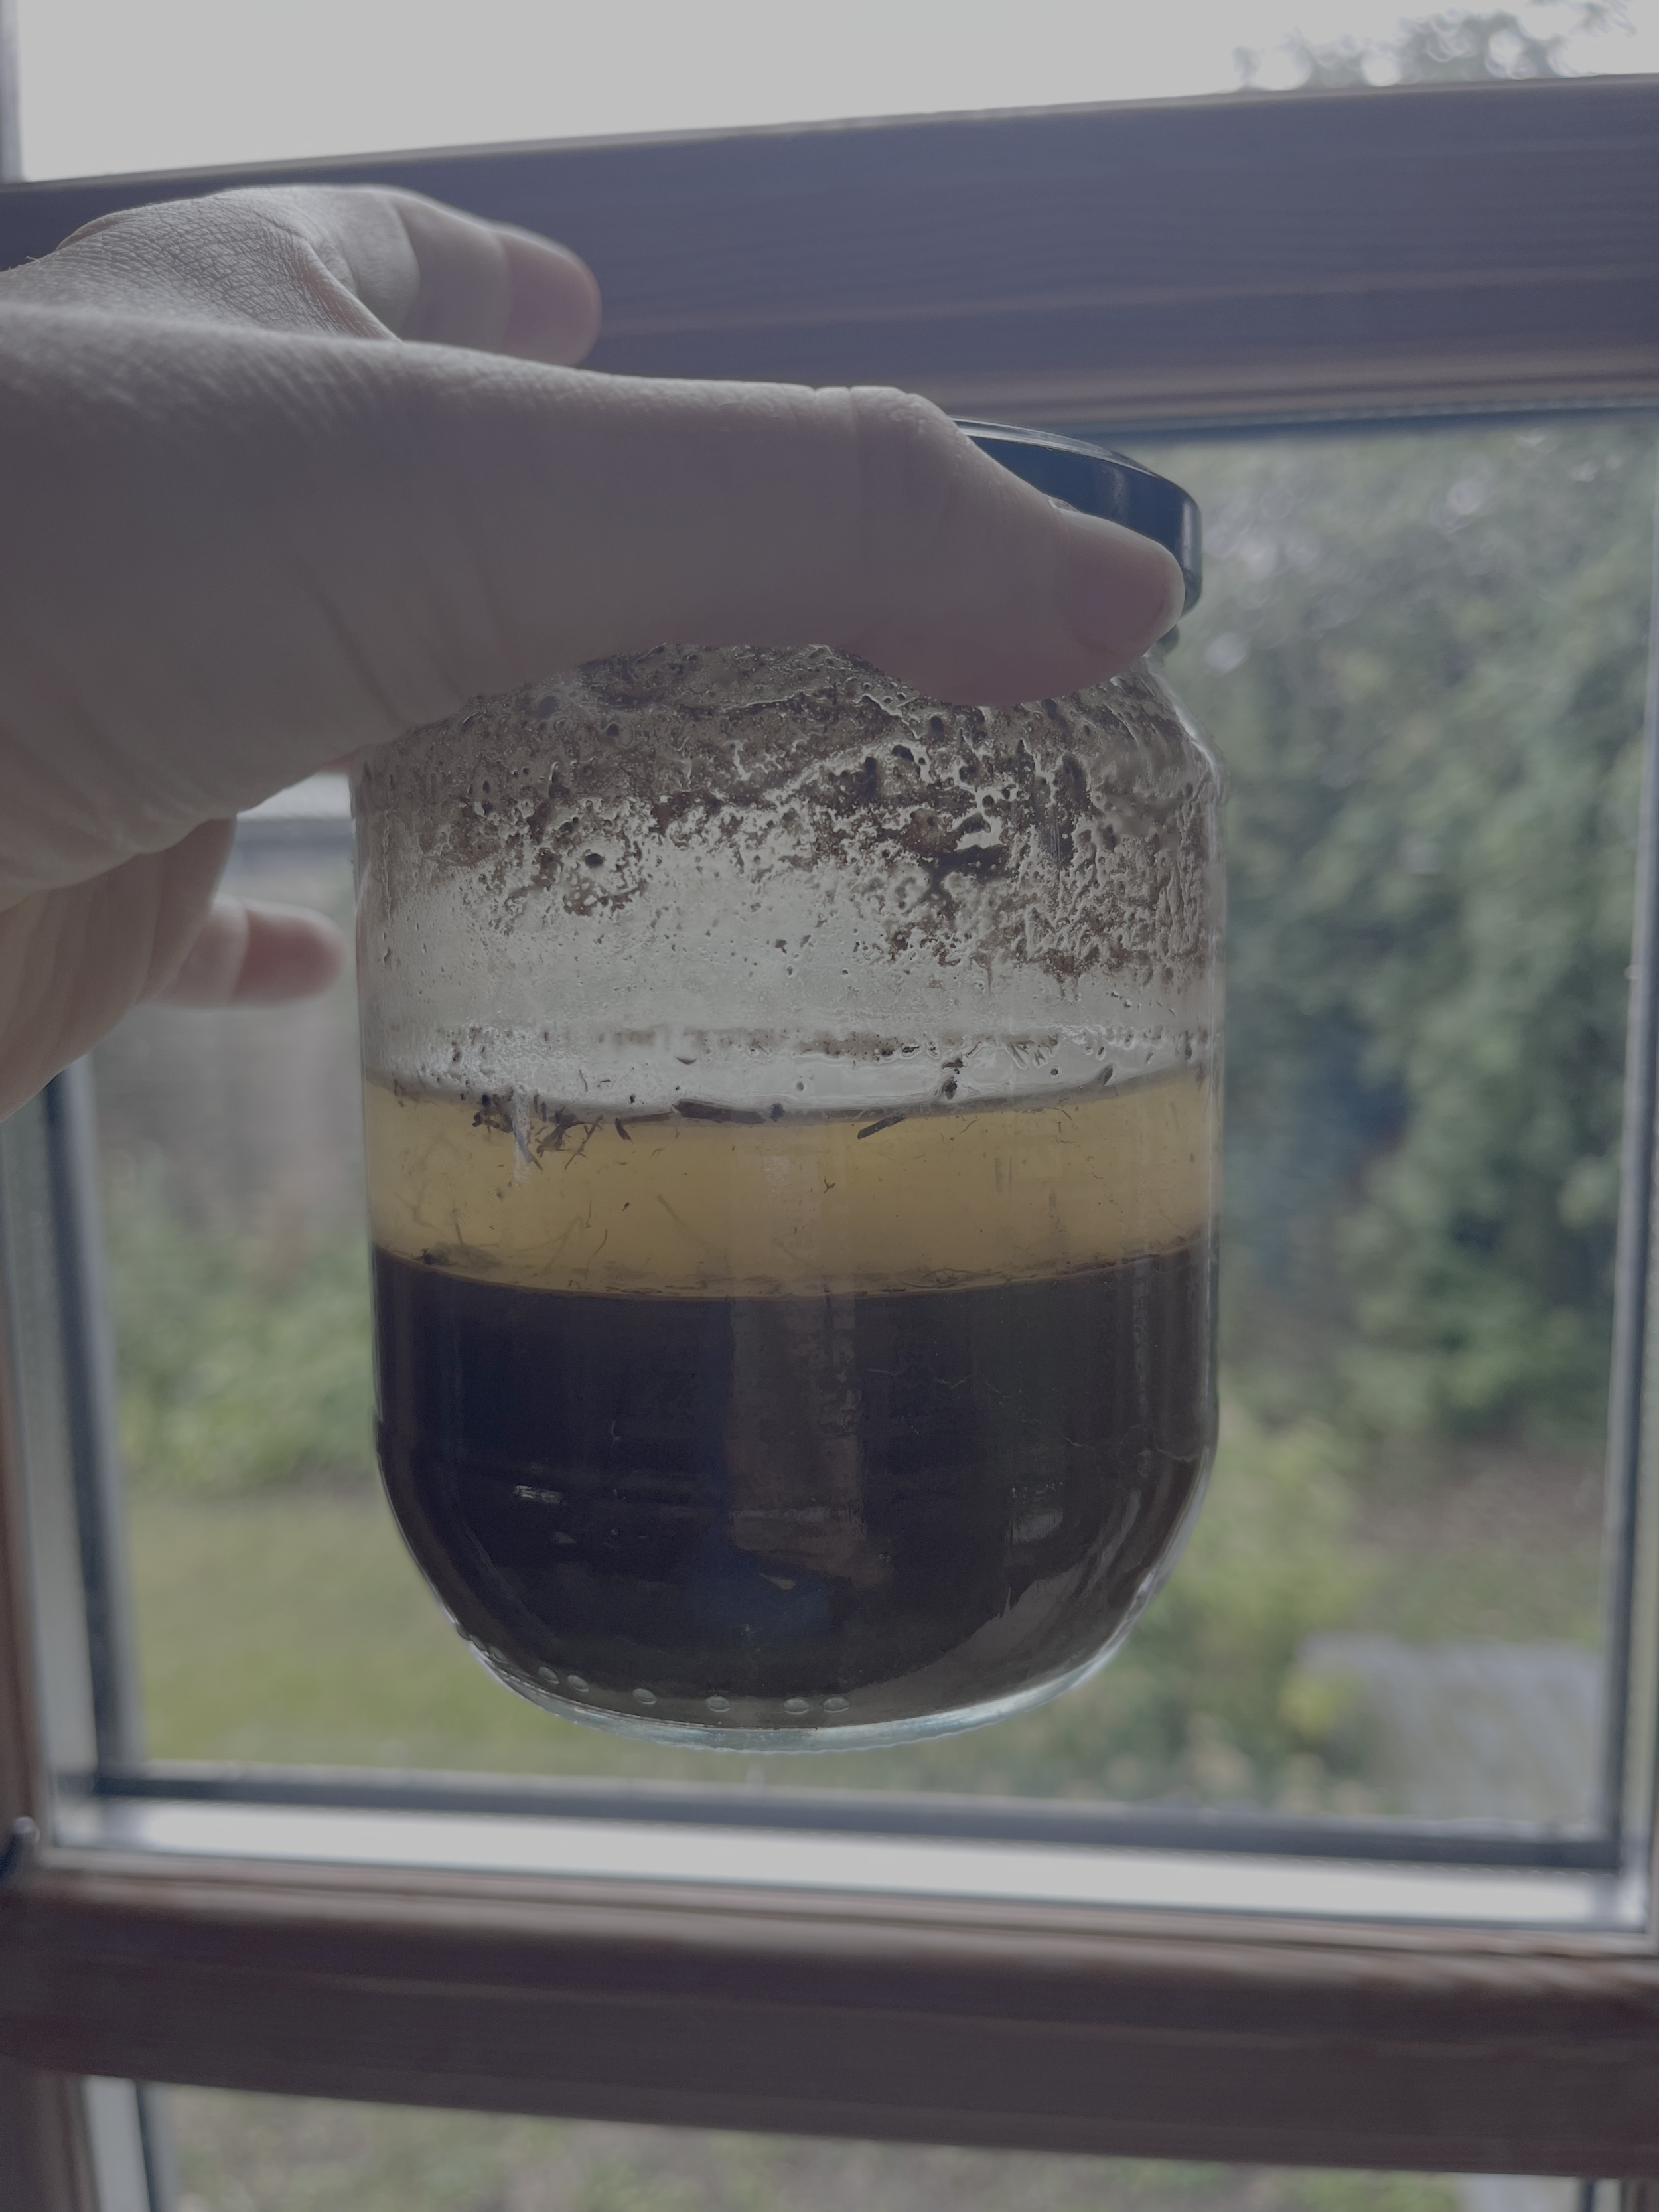
English speakers can hear Fiona talk about the soil consistency and a test where a sample is placed in a jam jar with water and after 3 days you should see layers of sand, clay and water. This soil is so clay heavy you can not see a layer of sand!
Step 2 Plan for People
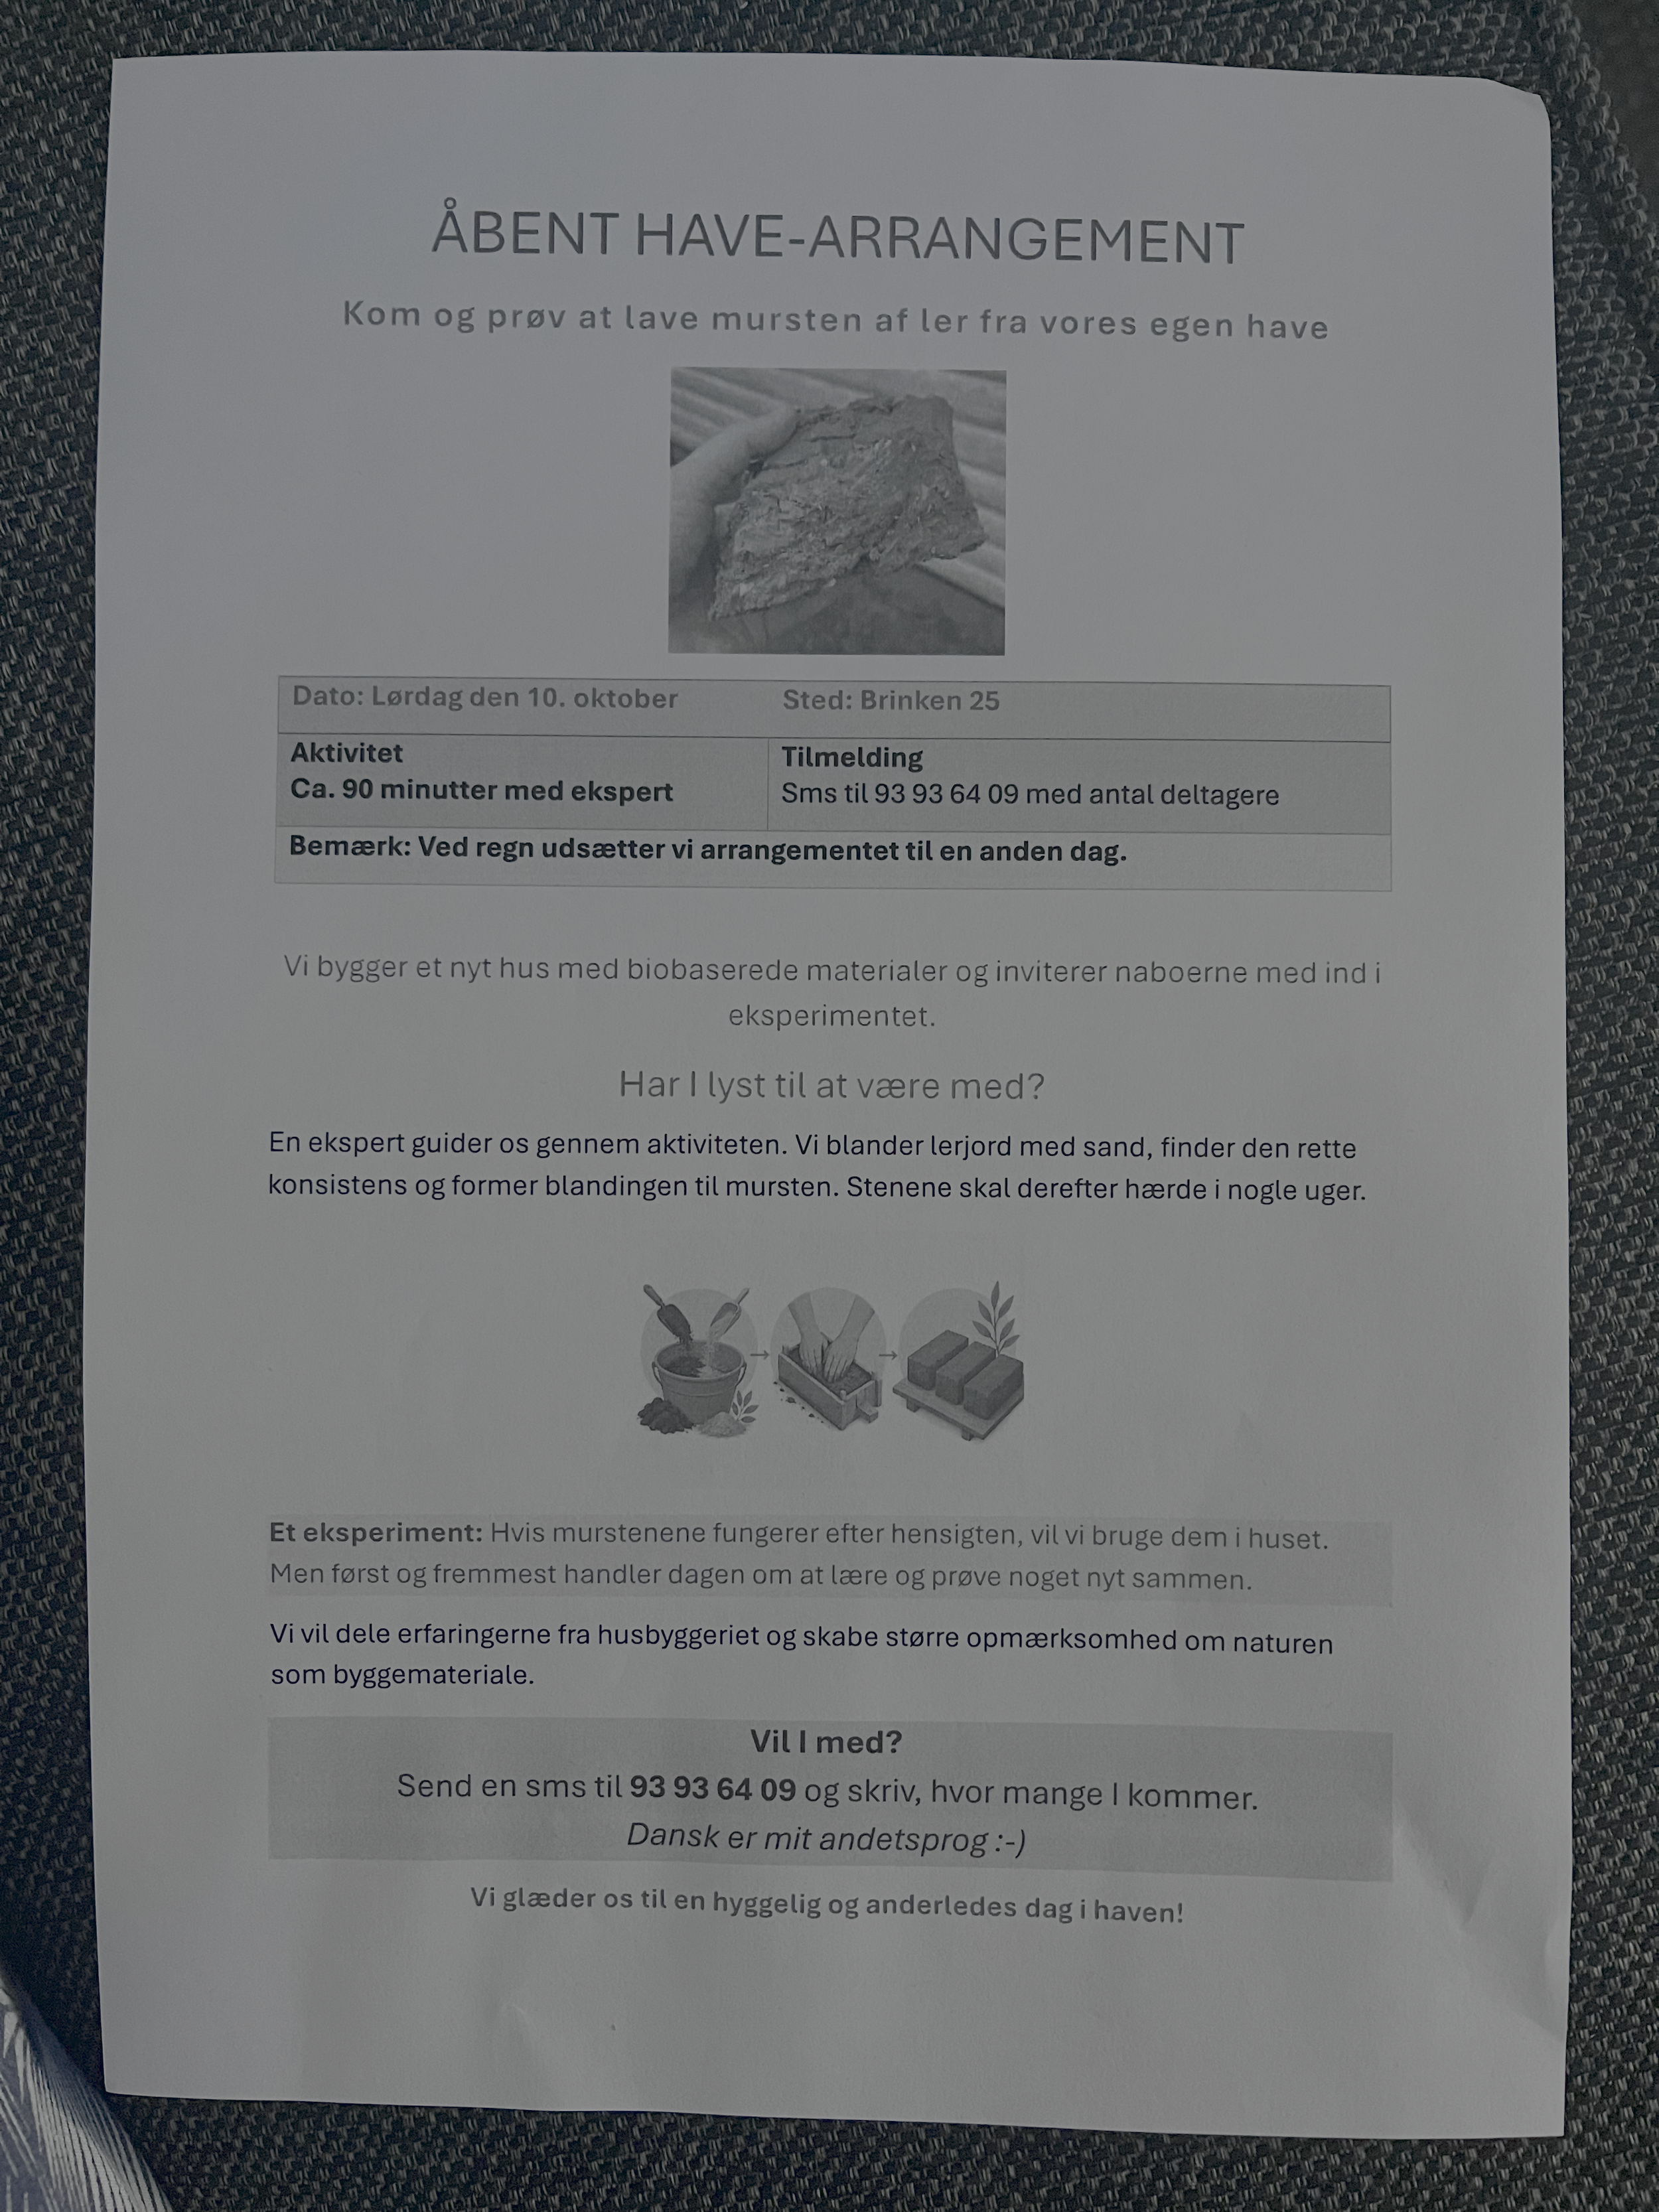
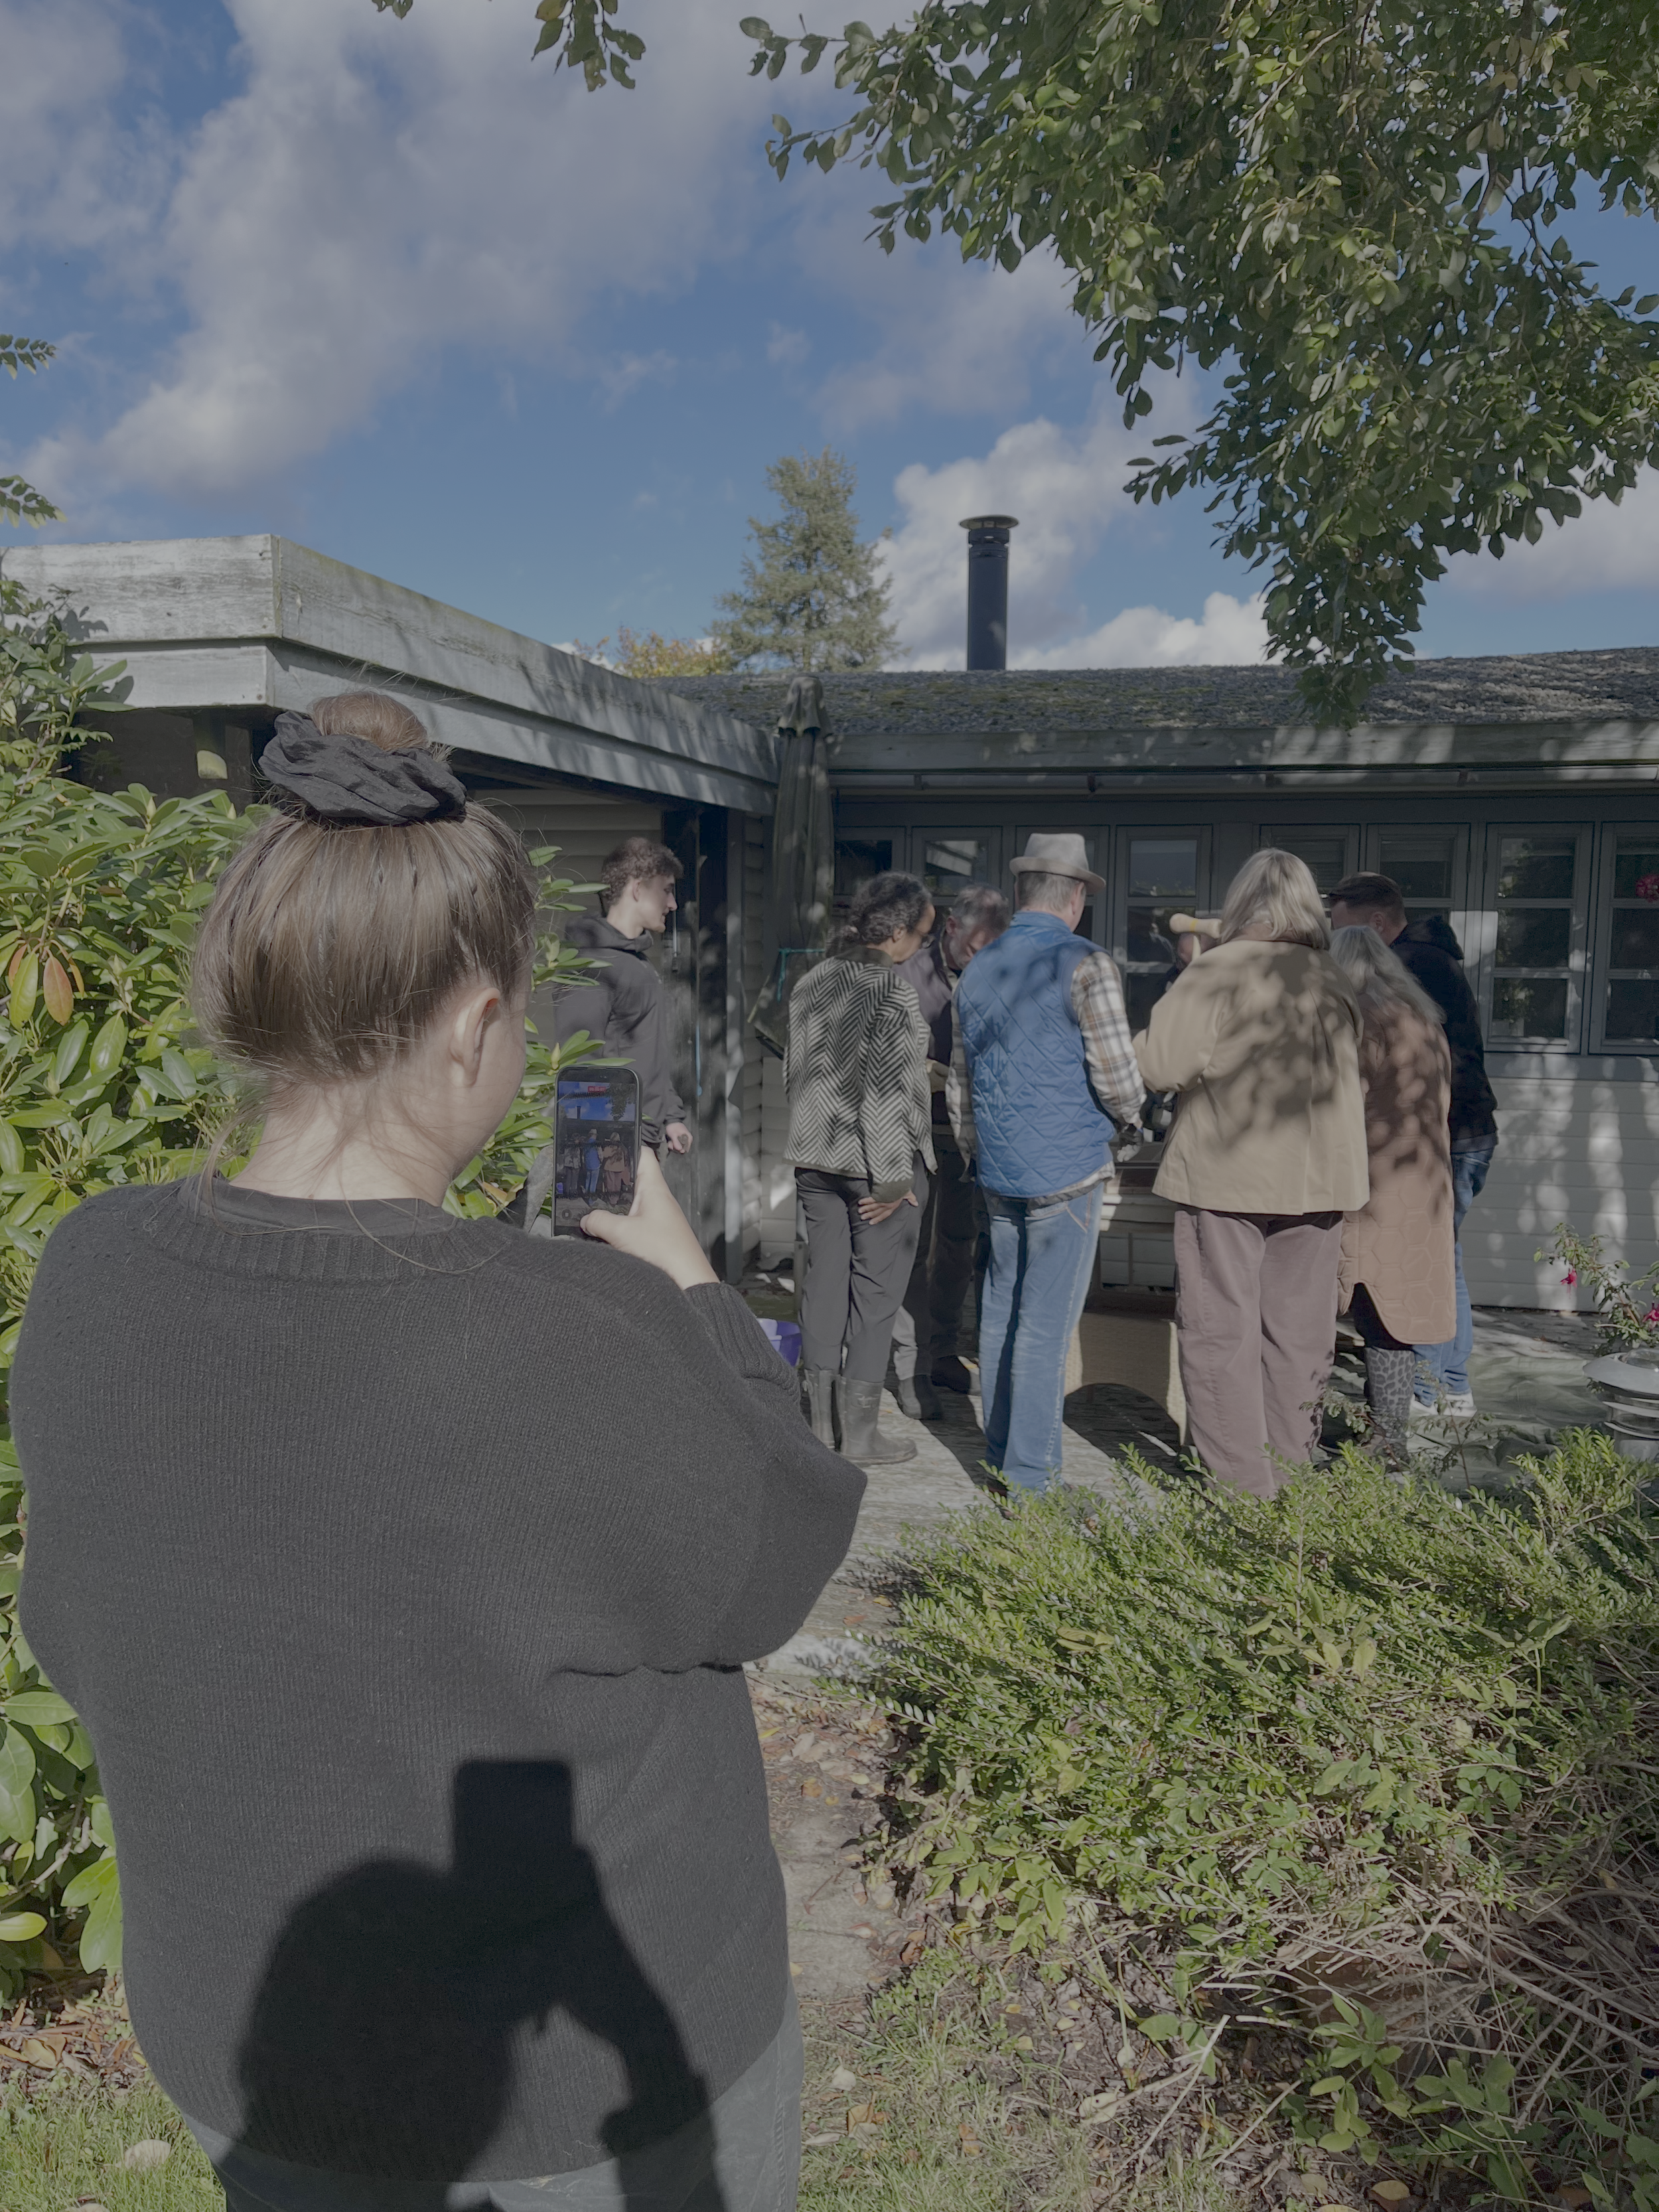
We invited neighbours, family and the local scout group. We hand delivered the invitations to neighbours and this gave us a good opportunity to explain what we were doing (an experiment in clay brick making) and why (as a first step to building a home from bio materials
We also made a list of planning steps (with action owners and dates)
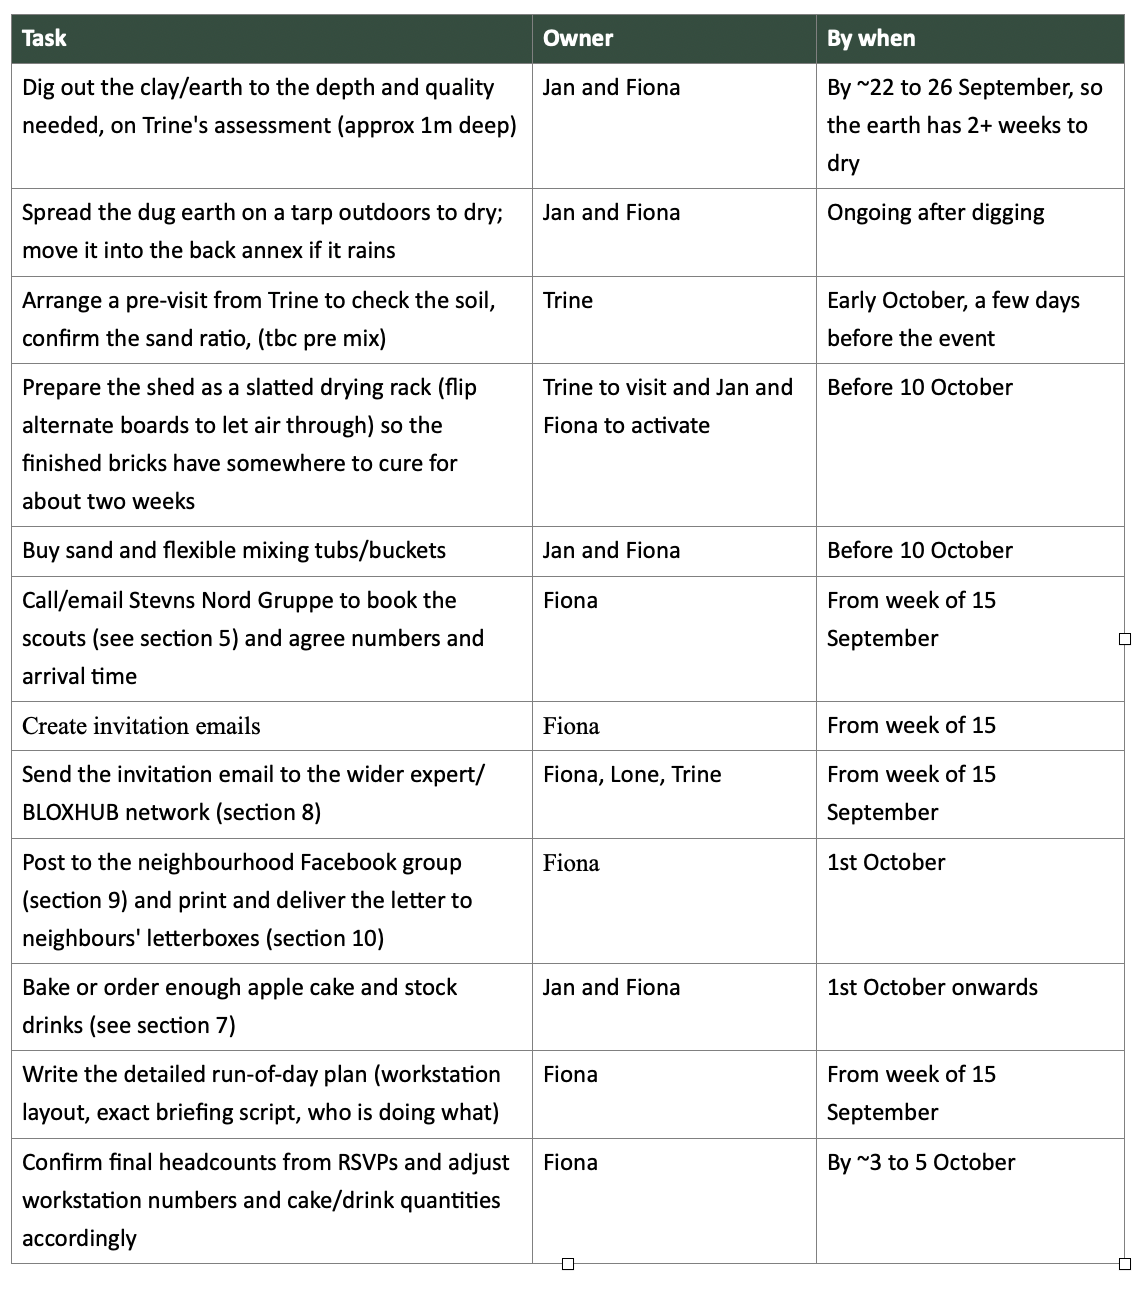
Step 3 Set up the space
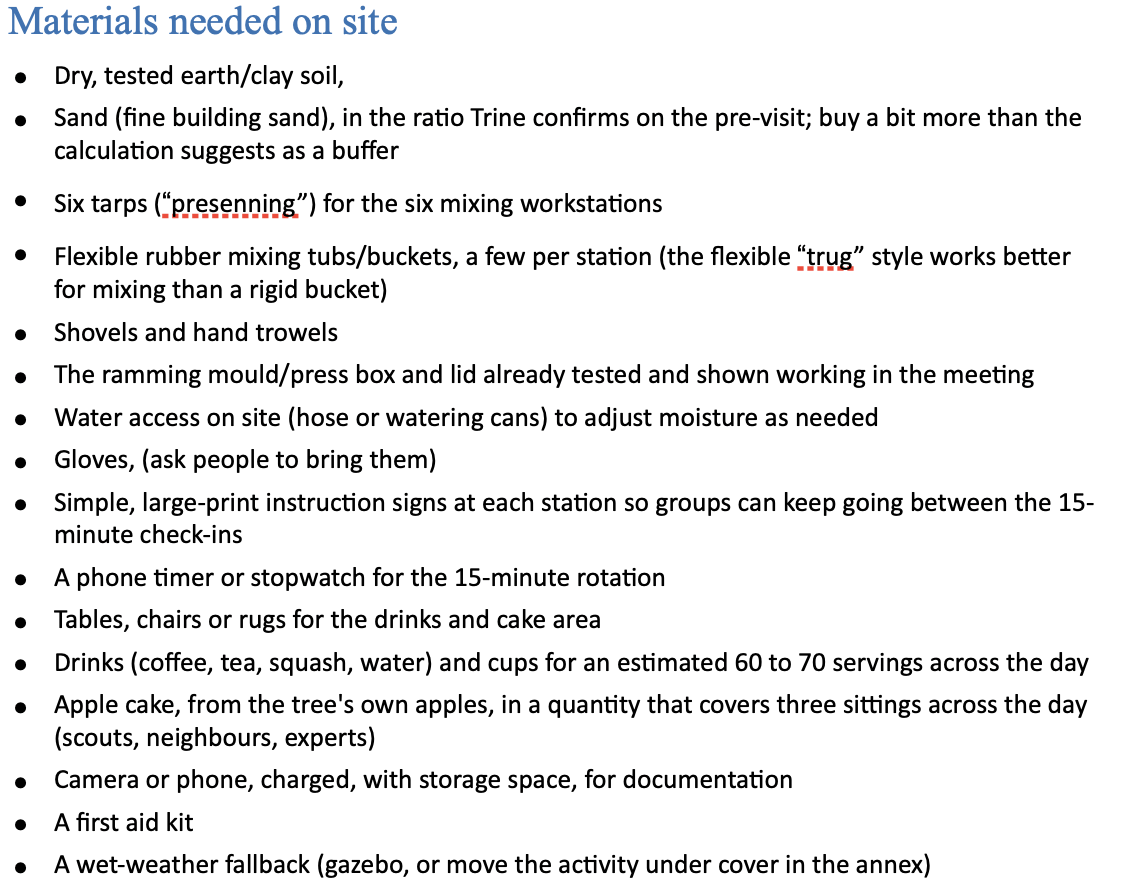
Below is the list of materials we used
Watch these videos to understand how we set up areas for activity
(And the little details like coffee and pastries, water for handwashing, and tarp to cover wet ground make a difference
Step 4 Start the experiment!
We were lucky enough to have someone with experience with clay to be able to give everyone context
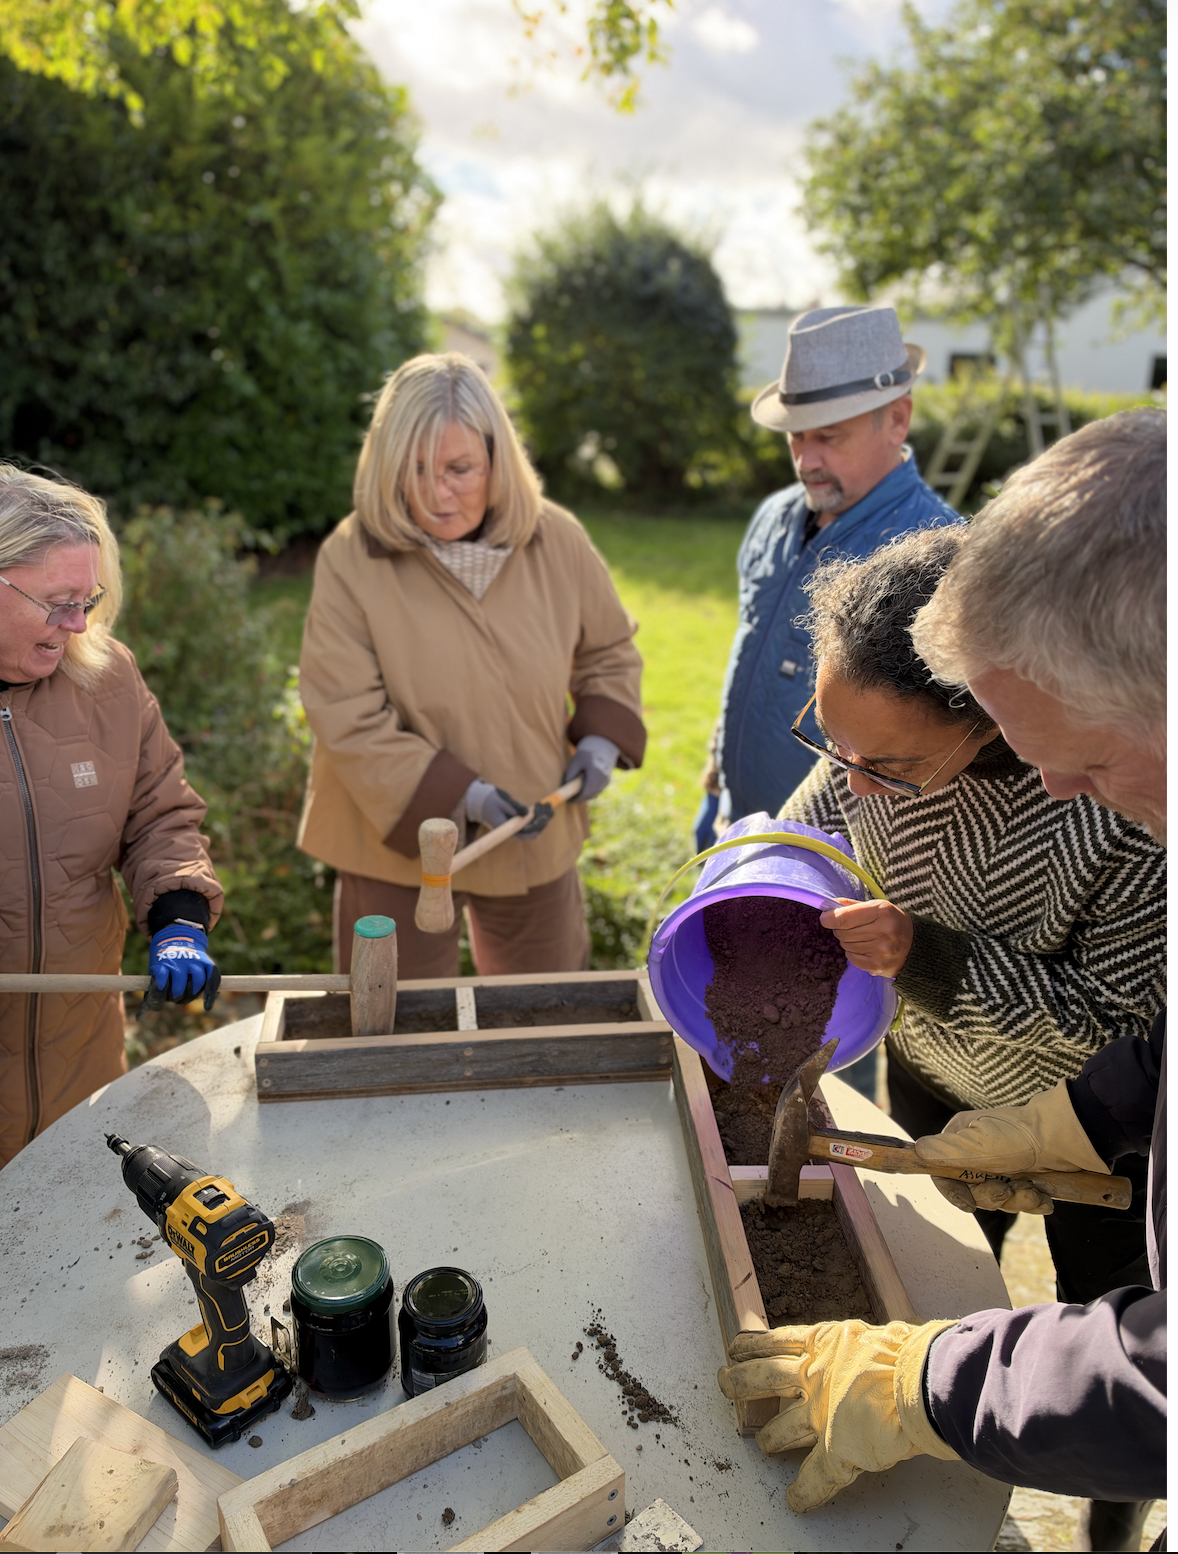
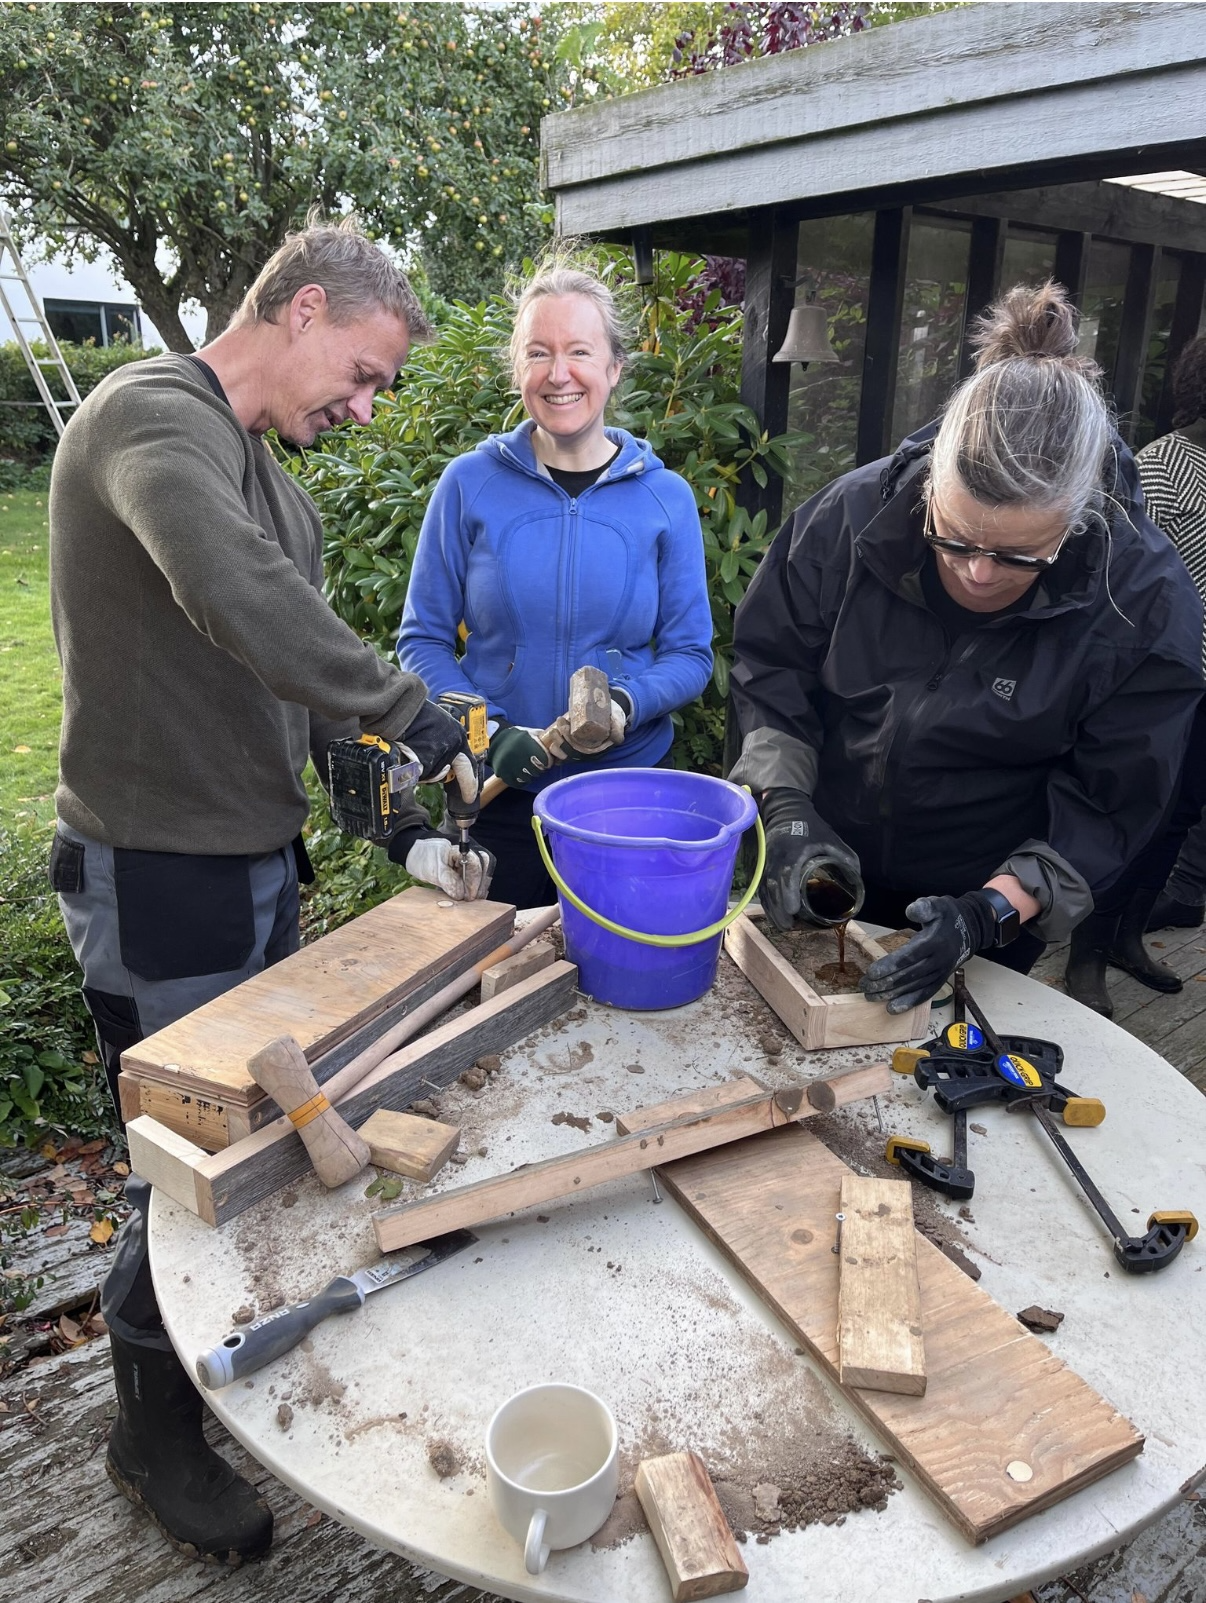
We divided people into smaller groups so each group:
1- Took a bucket and created their clay and sand mix (and removed any hard lumps within the clay by hand or by walking over them!)
2- Poured their mixture into a wooden brick template
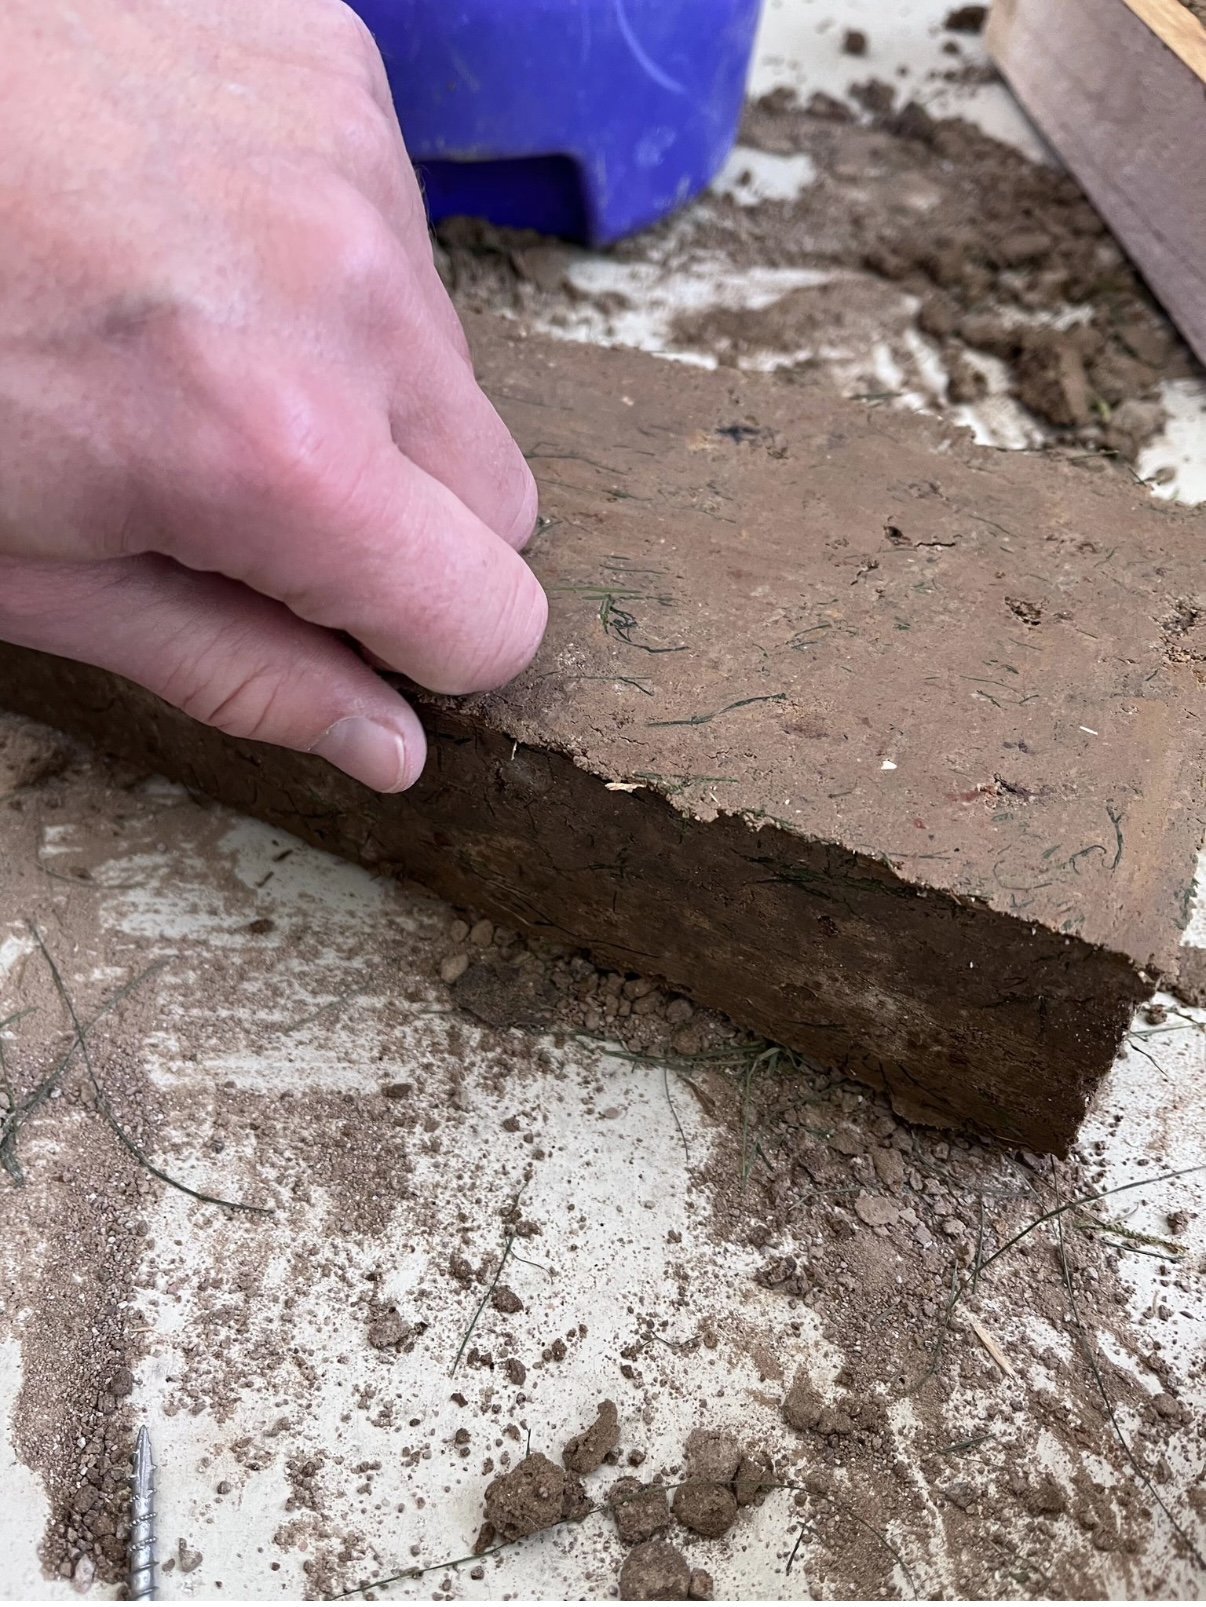
3- Added coffee (for colour), Eucalyptus (to prevent mould), grass (for strength)- this step was optional
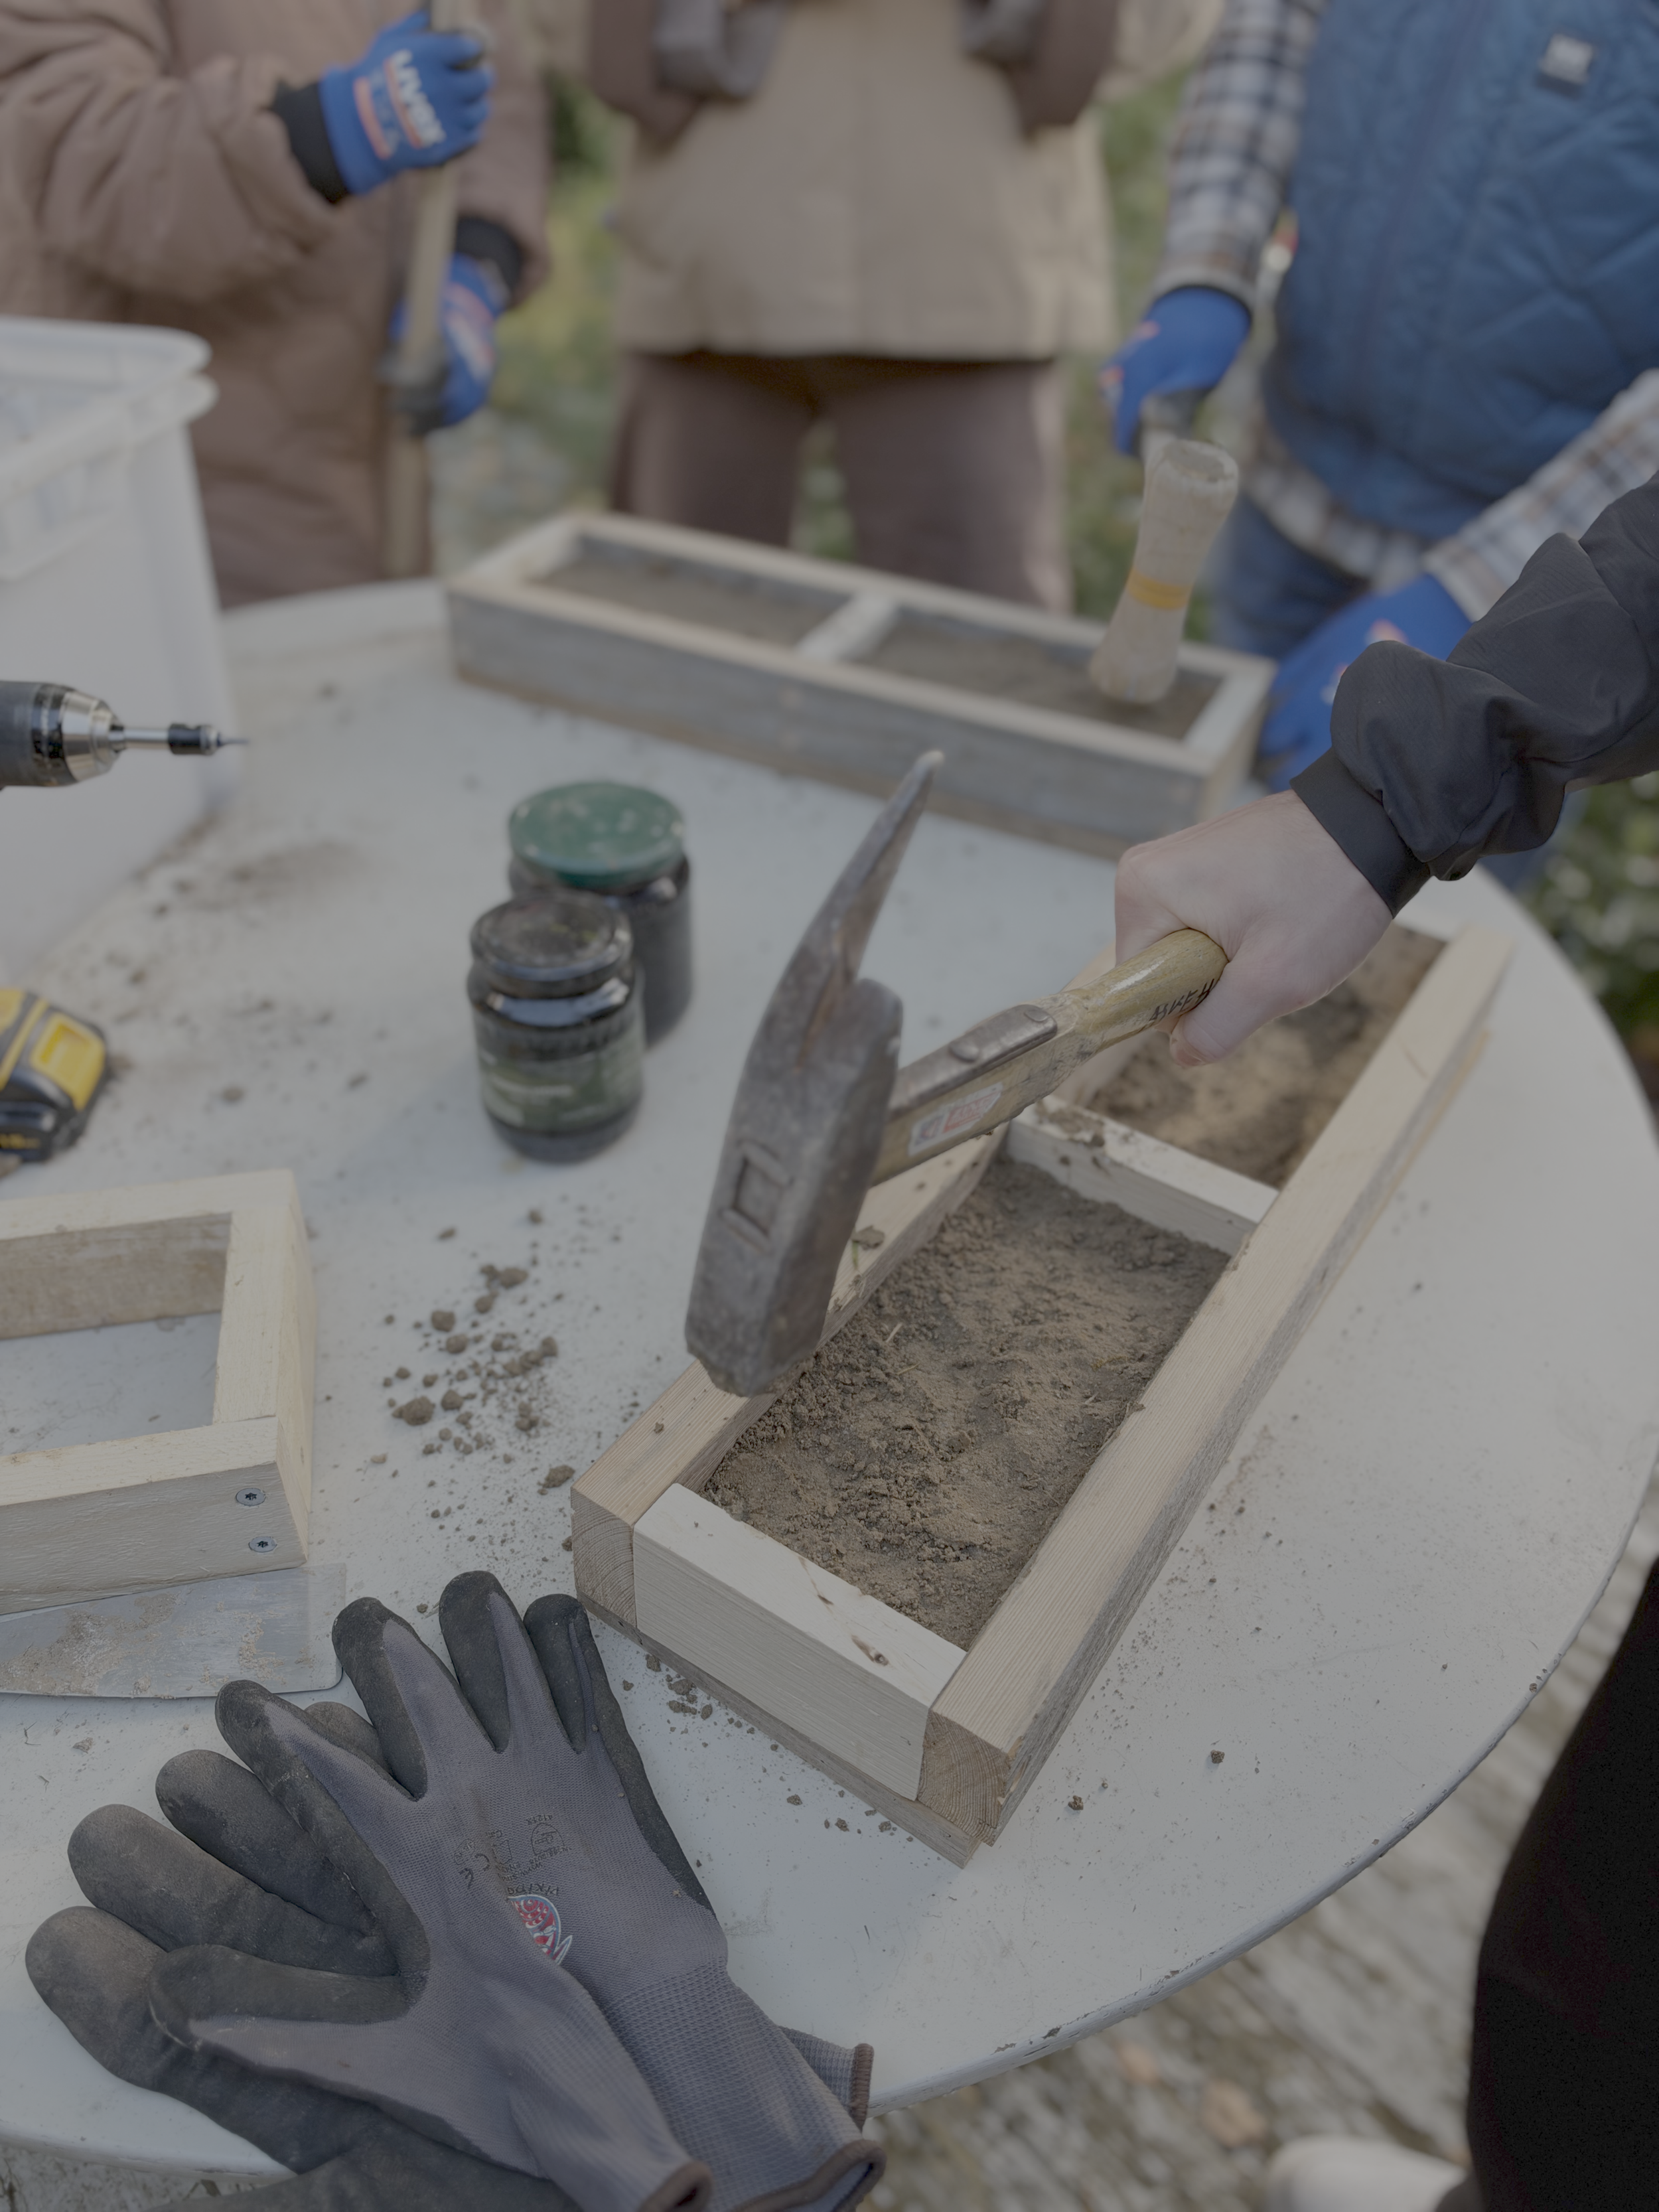
4- Hammered their clay brick. Numerous tactics were used to do this
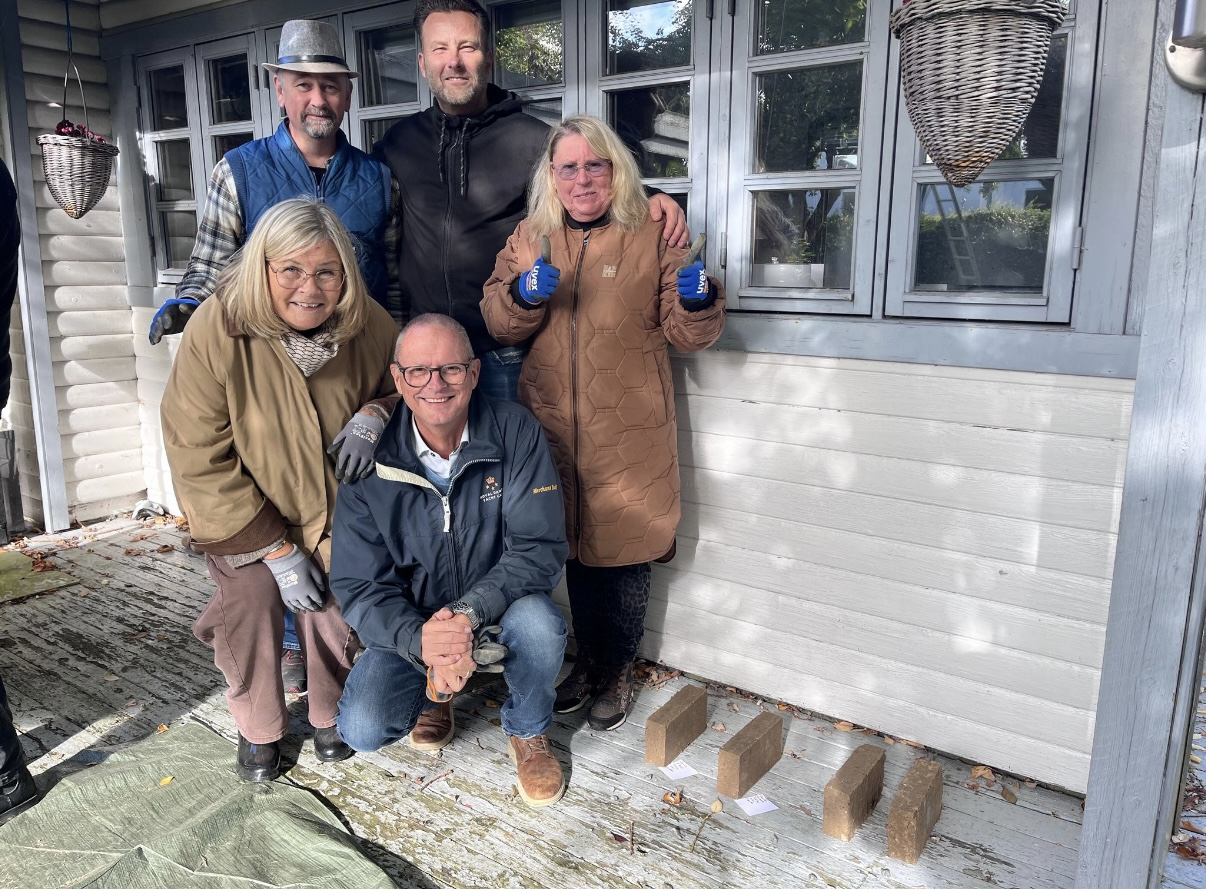
Step 5 Enjoy being part of a community connecting with nature
(and if you make a competition for the ‘best’ brick remember to provide labels)
Listen to an interview (in Danish) about the experience of building a clay brick.
Step 6 Wait for the bricks to dry
Leave them undercover, out of direct sunlight and in a space with good ventilation
Keep turning the bricks and after 3 weeks your brick will be ready to use